Greetings Everybody,
Well, I thought I would title this Post in this way because of the time and experience it takes to get Exactly what one is after in the realms of the Differential Heat Treatment.
As many of you who have been following my work know, it is quite common to see knives with blades that have different tonal changes on them, some in patterns, some straight, some in between. This is generally termed as being differentially heat treated. Other names used are, Hamon
(meaning "Blade Pattern" in Japanese) and there are many many styles of Hamon.
What most people do not know, is that shooting for a perfectly defined hamon, or even getting a beautifully defined straight quench right where you would like it, with the exact look you are after, can be quite challenging. This is why you mostly see lots of satin finished knives (especially chef knives) with no etched surfaces.....it's just easier to harden the whole blade. AND is easier to finish too. nothing to really develop, polish, reveal, or fuss-over.
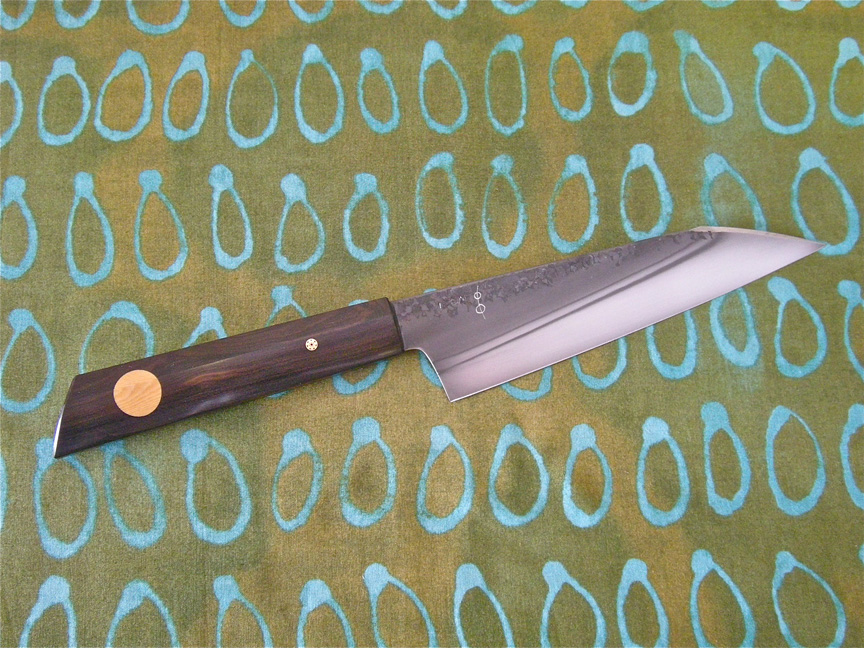
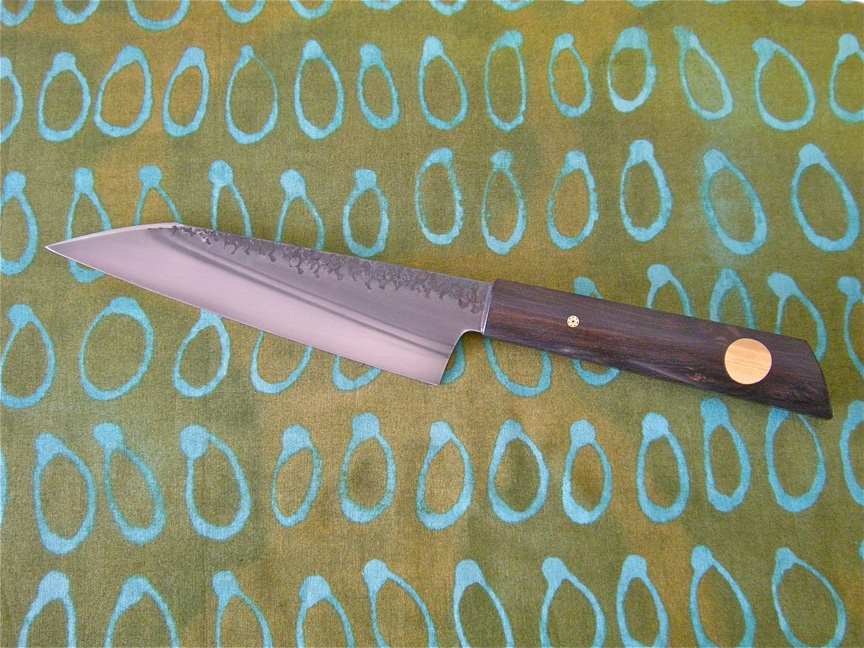
I recently finished a knife that I am very proud of and wanted to share it with you All.
This is a seemingly simple knife but it really has character.
Character you might ask, what's so special?
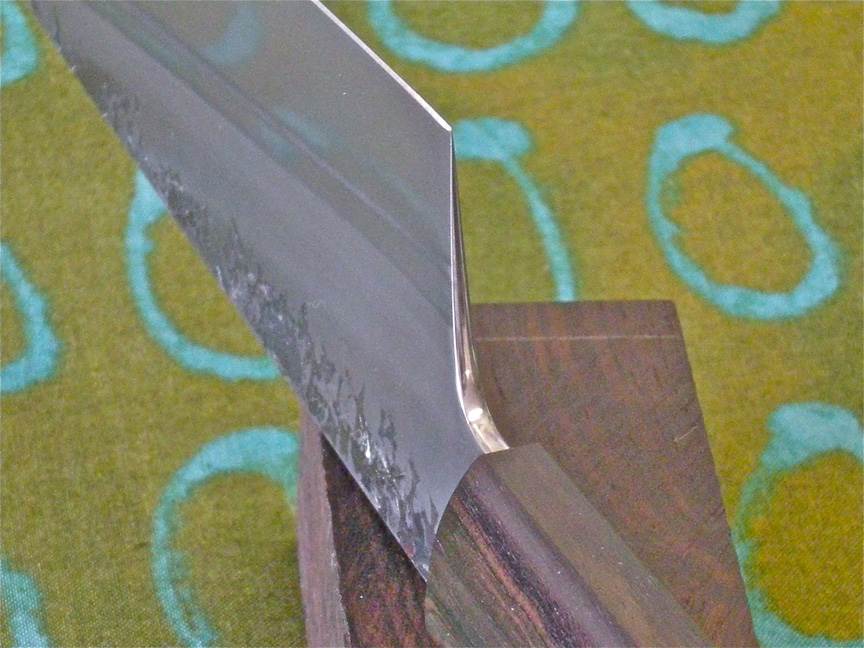
For-One: The position and depth of the quench line is very nice on this particular blade.
Of course it could be deeper (higher to the spine) resulting on more hard-zone, but in terms of aesthetics, I like how the quench-line lays half way between the machi and the heel, and flows so gracefully right where the kissaki make it's transition to the spine.
Also: The definition is very crisp, and the little bit of secondary plunge as the second ticked during the hardening stage, resulted in a bit of what my Mentor Tai Goo calls "Rainbow Quench".
Resulting in what In think is one of the most beautiful blades I have made to date.
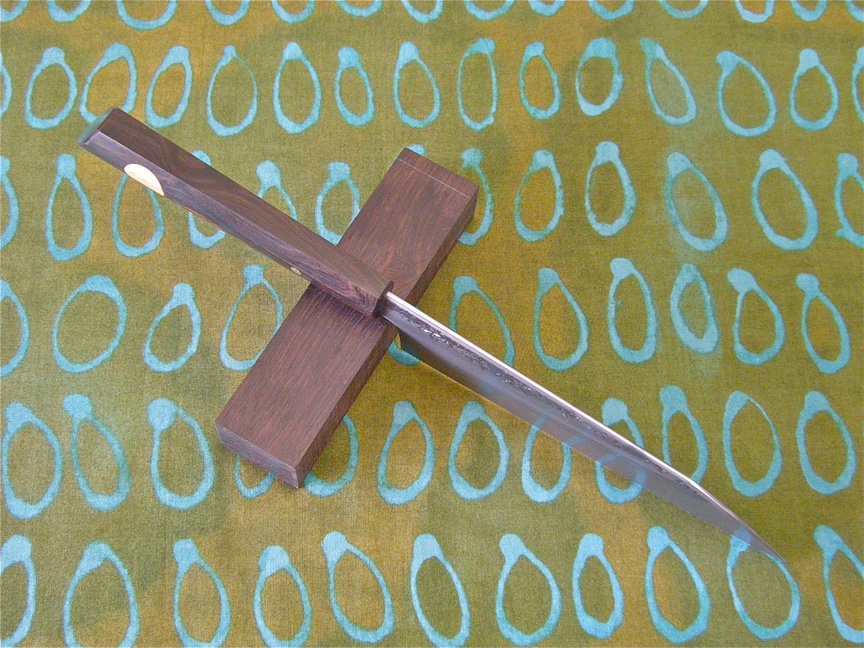
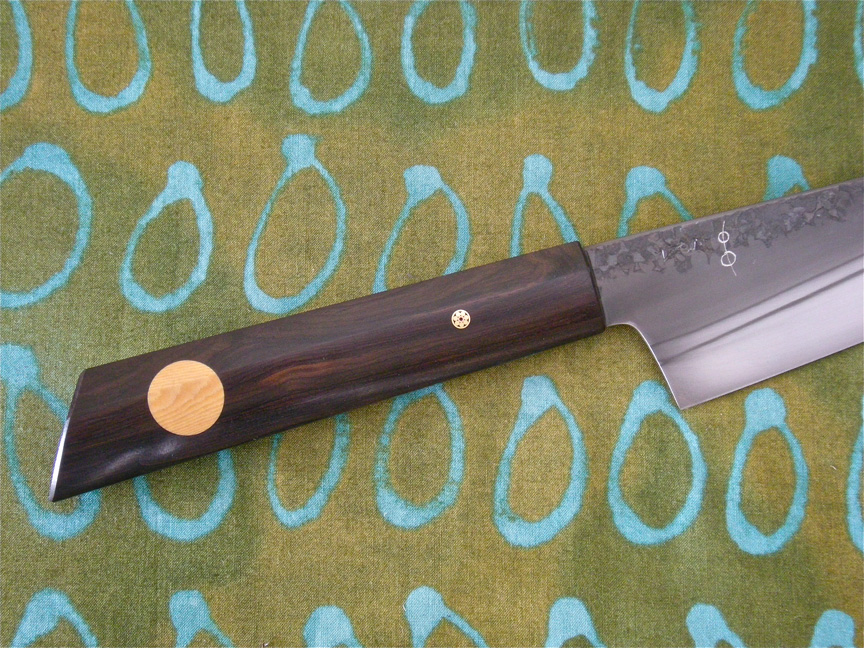
This particular model is based on my Personal Chef Model, in a stick-tang configuration and with a rustic forged finish, with polished bevels and details for a striking contrast.
The Steel is 1095. The blade is 7.25" of cutting edge and the OAL is 13" The handle is African Blackwood with Antique Ivory Micarta inlay and mosaic pin.
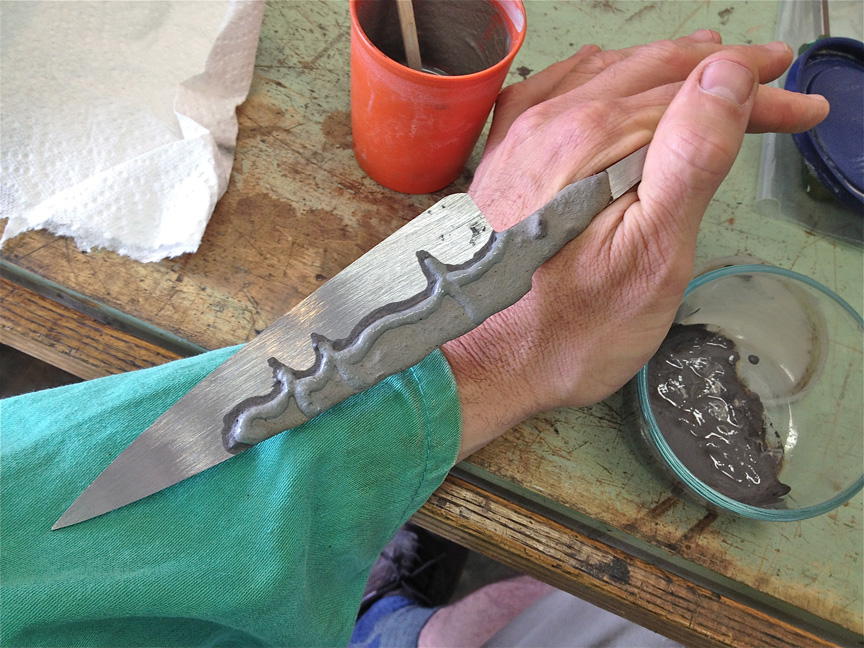
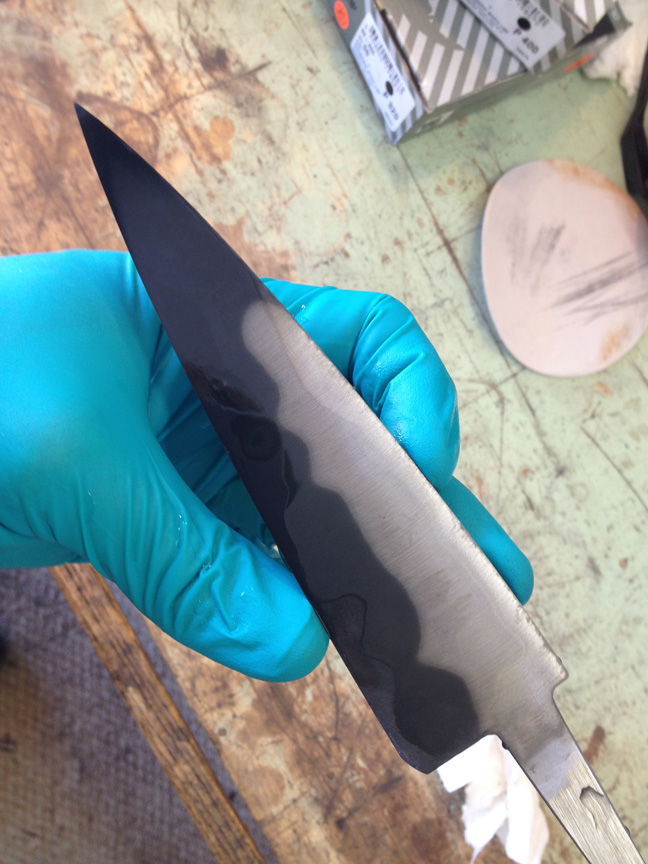
I also attached a few process images of another knife I am extremely proud of that illustrates the Hamon Process in just a few images.
#1 the final part of the clay application.
#2 the initial trial etch.
#3 the finished knife.
Trust me, it's not as simple as 1,2,3 either!
For more information on the knife you see directly above: VISIT THIS POST
I was very happy with in terms of getting the definition of the Hamon just as I wished.
It seems as though I got about 90% of what I was after in terms of how I applied the clay on this one!
It's just not one of those things that happens in a perfectionistic way, but it is driven by perfectionism and fueled by some degree of program, related to how the clay is applied.
And then there is a ton of practice, experience and trial and error that fuel the passion for getting things just-so....
.......because the next step is all about time and temperature.
Every blade is different, every clay application slightly different,
every moment in time is different etc...
Thanks for reading and I hope you enjoyed seeing these two knives that illustrate two styles of differential Heat treatments.
Blessings of Goodness and Health to you All
-DON:)
